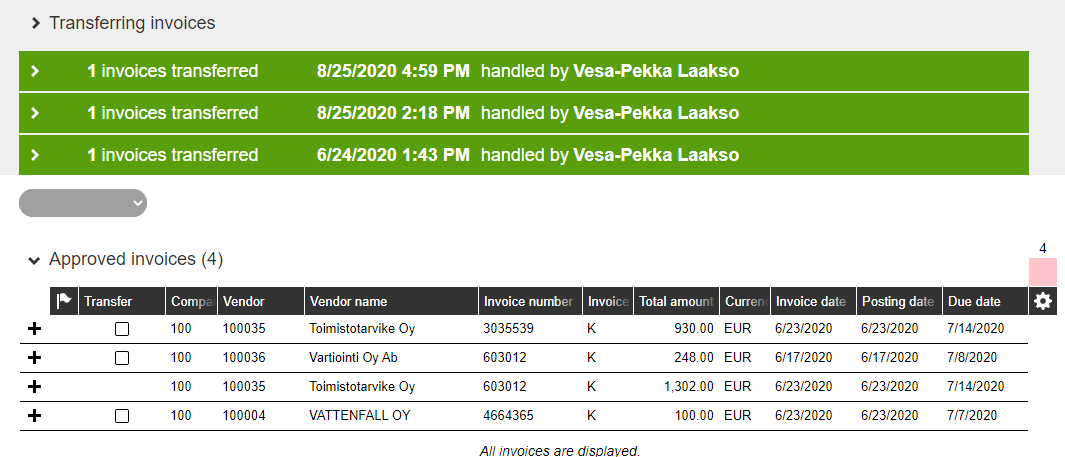
Transferring to payment means transferring invoices from Dooap to D365/AX2012. When an invoice is approved, it appears in the Transfer to payment view.

The Transfer to payment view has a similar structure to the invoice handling page – invoices that are ready to be transferred are at the bottom, and the ones already transferred at the top. You can filter and sort invoices the same way as the invoice handling page.
To send an invoice back to workflow, select the invoice by pressing the + button on the left side and click the return button.
Transferring Invoices
Invoice data is automatically validated by the system for all invoices in the 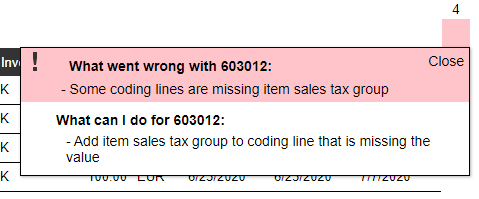 view according to your organization's validation rules.
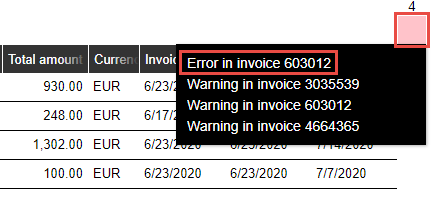
You can load additional invoices by scrolling down the page. Any issues that require attention will be displayed in the right-hand corner. This area highlights the invoice numbers with errors or warnings. By clicking on a warning, you can view the specific details of the issue within that invoice.
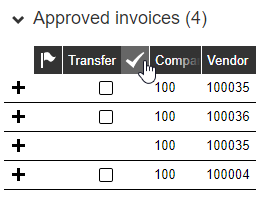
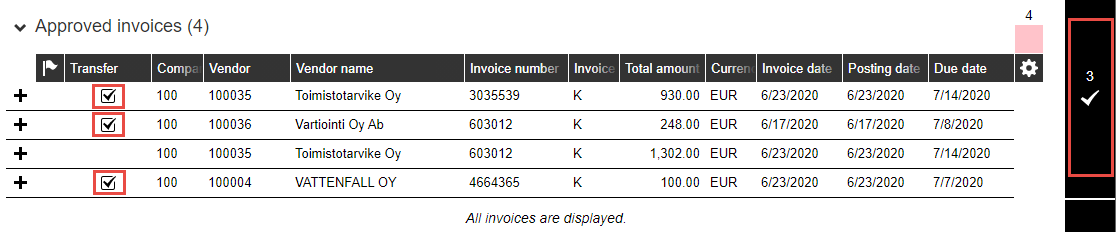
When you have validated the data, select the invoices you wish to transfer by selecting them individually on the transfer column. Clicking the header field will select all simultaneously.
Transfer the invoices by clicking the approve button: all selected visible invoices will be transferred at the same time.
A transfer batch is created, and invoices are moved to the top of the page (highlighted in blue). The system is now transferring the invoices in the background and you can continue working elsewhere.
Auto-transferring
Dooap is designed to transfer invoices to D365 automatically. An automated transfer happens every 5 minutes.
Invoices are transferred automatically, if:
- They don't have any errors or warnings.
- They are marked for auto transfer.
By default invoices waiting for the pickup are hidden. If you want to see them, just click on the Show all invoices button.

💡 Find out here how to configure auto-transfer.
Validating a transfer batch and re-transfer
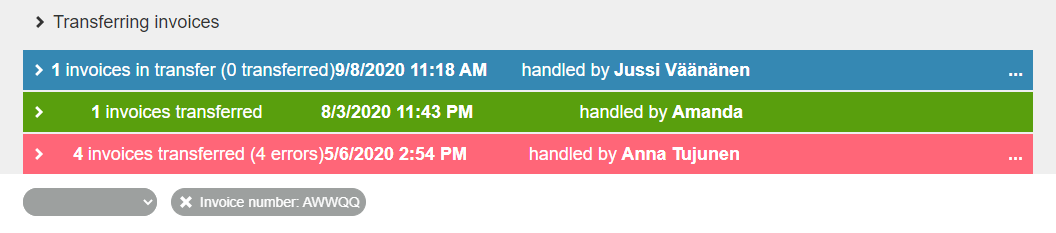
Transfer batches are displayed in 3 different colours:
- Blue – transfer is in progress. You can continue working elsewhere or close the page.
- Red – an error was reported during the transfer. Drill down and check the history log to see the error message.
- Green – D365/AX2012 reports a successful transfer, or invoices with errors have been returned for handling.
Retransferring
If an already transferred invoice needs to be transferred again, you can move it back by selecting the invoice and clicking the return button.
- This allows you to fix, and retransfer the invoice.
- Once the invoice is returned, there might be a warning stating that the invoice has already been transferred.
- This is just a warning and the invoice can still be retransferred.
- Before retransferring the invoice, please ensure the pending invoice has been deleted in D365 to avoid duplicates.
- See more here: How to retransfer an invoice from Dooap to D365.

Marking batch as transferred
It is also possible to manually mark a batch as transferred. With this function, the colour of the batch will be changed to green.
- The function is meant for situations where the corrections have already been made in D365, and the invoices need to be manually marked as successfully transferred in Dooap as well.
The feature can be found by clicking the three dots beside a batch and then clicking Mark batch as transferred.

Auto-posting
Non-PO invoices are transferred to Invoice journal in D365.
- One journal will be created per invoice.
- If there are invoices for multiple companies in one batch, invoices will automatically be divided to the correct companies.
PO invoices can either go to open or pending vendor invoices.
Preventing auto-posting
To prevent the invoice from automatically posting to the general ledger, uncheck the "Auto post" checkbox in the invoice header. If you don't see the column, you can select it active from the settings wheel.

You can also manage this on the vendor level in Admin > Vendors.
When auto-posting is disabled, the invoice will stop in D365 Invoice Journal and needs to be manually posted in D365.