Invoices can be configured to automatically transfer from Dooap to D365. That feature is called Automatic Transfer to Payment (Auto-TTP).
Once configured, Dooap automatically transfers all approved invoices without errors or warnings to D365, either in a single batch or in multiple batches every five minutes.
- Invoices are grouped by company for each transfer.
- The transfer process follows the same logic as manual transfers.
For further details regarding transferring invoices to payment, please check the article: Transfer to payment.
Configuration
The configuration should only be completed by an Admin user that has received proper training.
We are happy to assist you in configuring the desired level of automation for your process. In this case, please contact us via email support@dooap.com.
To configure Auto-TTP, please follow these steps.
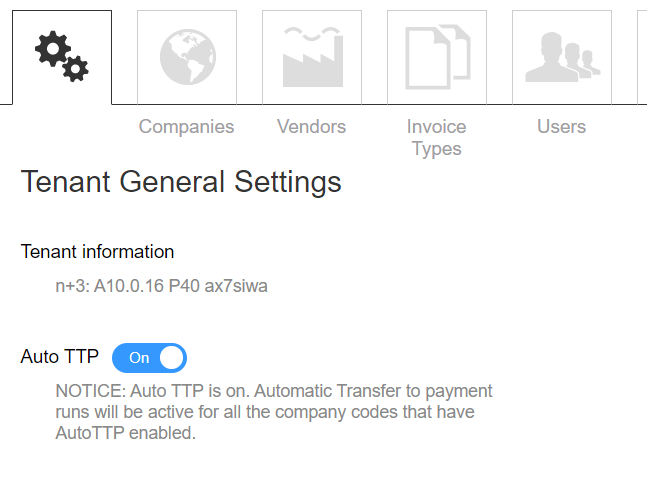
- Master switch: In Admin > General settings turn on the "master swich" Auto TTP.
- This enables automatic batch runs for your tenant.
- You can use this setting to temporarily disable automation e.g. during month-end. Once switched back on, all invoices waiting for pickup will be transferred.

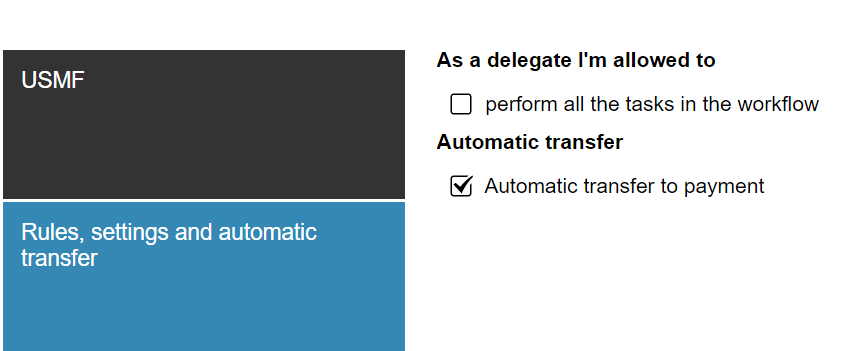
- Company settings: In Admin > Companies set automatic transfer to payment on for the companies you want to have the feature enabled.
- The setting can be found on the Rules, settings and automatic transfer tab after selecting a company.

- The setting can be found on the Rules, settings and automatic transfer tab after selecting a company.
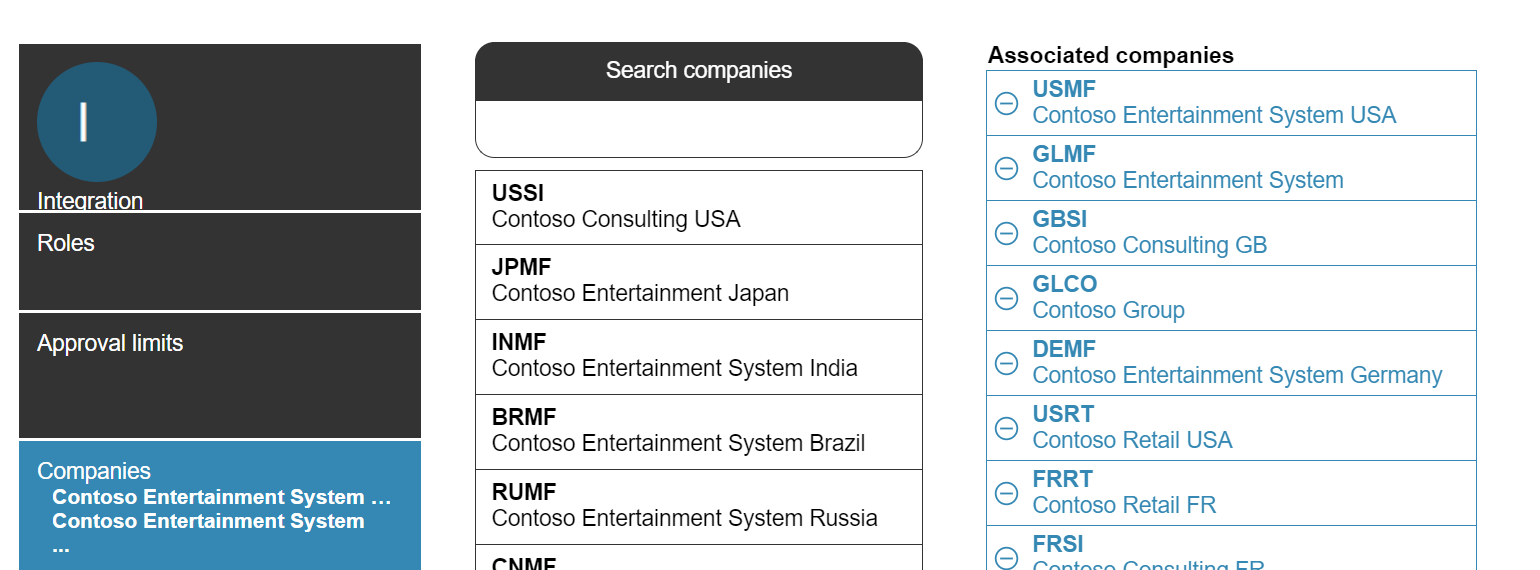
- Integration user: In Admin > Users > Select the integration user > Companies add each company to the Associated companies list that will configure Auto-TTP.

- Invoice type: Admin > Companies > Invoice Types select which invoice types will be transferred to payment automatically per company by tapping Transfer to payment automatically.
- Create a separate invoice type which has Transfer to payment automatically disabled for invoices you don't want to transfer automatically.

- Create a separate invoice type which has Transfer to payment automatically disabled for invoices you don't want to transfer automatically.
- Invoice on the handling page: Auto transfer checkbox in the invoice's header row must be enabled.
- You can manually disable the checkbox for an individual invoice and AP will then perform a final check-up before transferring the invoice.
- If you are aware that the invoice requires verification before transfer, we advise disabling the checkbox well in advance of the invoice reaching the approved stage.
- Note! When invoice is approved and waiting for transfer, it is not advisable to perform a manual transfer.


How Auto-TTP Works: A Detailed Overview
First, approved invoices will be waiting for pick-up. Every 5 minutes these invoices are picked up for transfer and a batch will be created per company. Invoices without errors or warnings will be automatically transferred.
Waiting for a pick-up
After an invoice automatically transferring to payment has been approved, it can be found in the Transfer to payment view waiting for a pick-up. Every 5 minutes these invoices are picked up for transfer.
- These invoices are hidden from the Approved invoices section by default.
- To view such invoice, click Show all invoices.

Batch creation
Once a batch is created, the transfer status for each invoice is visible on the Transferring invoices section.
You can recognize an automatic batch by it's creator, which is always the integration account.
Batch size is limited to 500 invoices by default. If necessary, this can be adjusted.

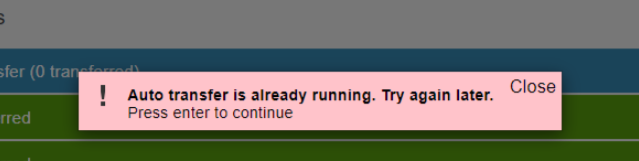
Note: While auto transfer is running, invoices which are eligible to auto transfer can't be transferred manually.
- In case you try to perform a manual transfer simultaneously, you will receive notification:
"Auto transfer is already running. Try again later."
Transferring errors
Should there be any issues during transfer, the failed batch will at remain on top of the Transferring invoices section, until resolved.
To see further details regarding the issue, click the invoice history log open. In the log you can see the detailed error message received from D365.

Options on how to proceed:
- Return the invoice, resolve the issue in Dooap and re-transfer.
Remember to remove/delete any leftover journals or pending invoices from D365. - Resolve the issue in D365 and confirm the correction in Dooap.
You can do this by changing the batch status to green through the batch settings.