Dooap allows using ClientID + Secret authentication layer in addition to the standard username + password method. This optional authentication layer does not affect functionality.
Here you can find instructions on how to set up ClientID and Secret.
- Create an integration user account to Entra ID.
-
D365 license is only required in PROD.
- Password is not needed in the enrolling process.
- MFA may be enabled.
-
- Import the user to D365.
- Use the following roles and no organization restrictions:
- Dooap integration
- Dooap.
- Use the following roles and no organization restrictions:
- Create an app registration to Entra ID.
- Note: Separate app registrations must be created for UAT and Prod.
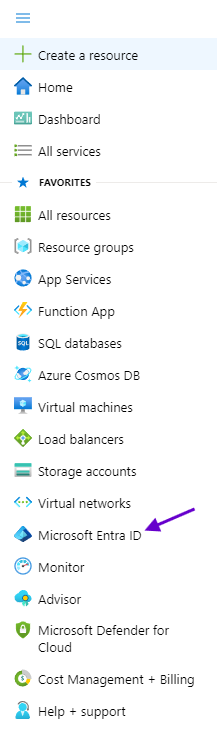
- Navigate to Azure and select Microsoft Entra ID.

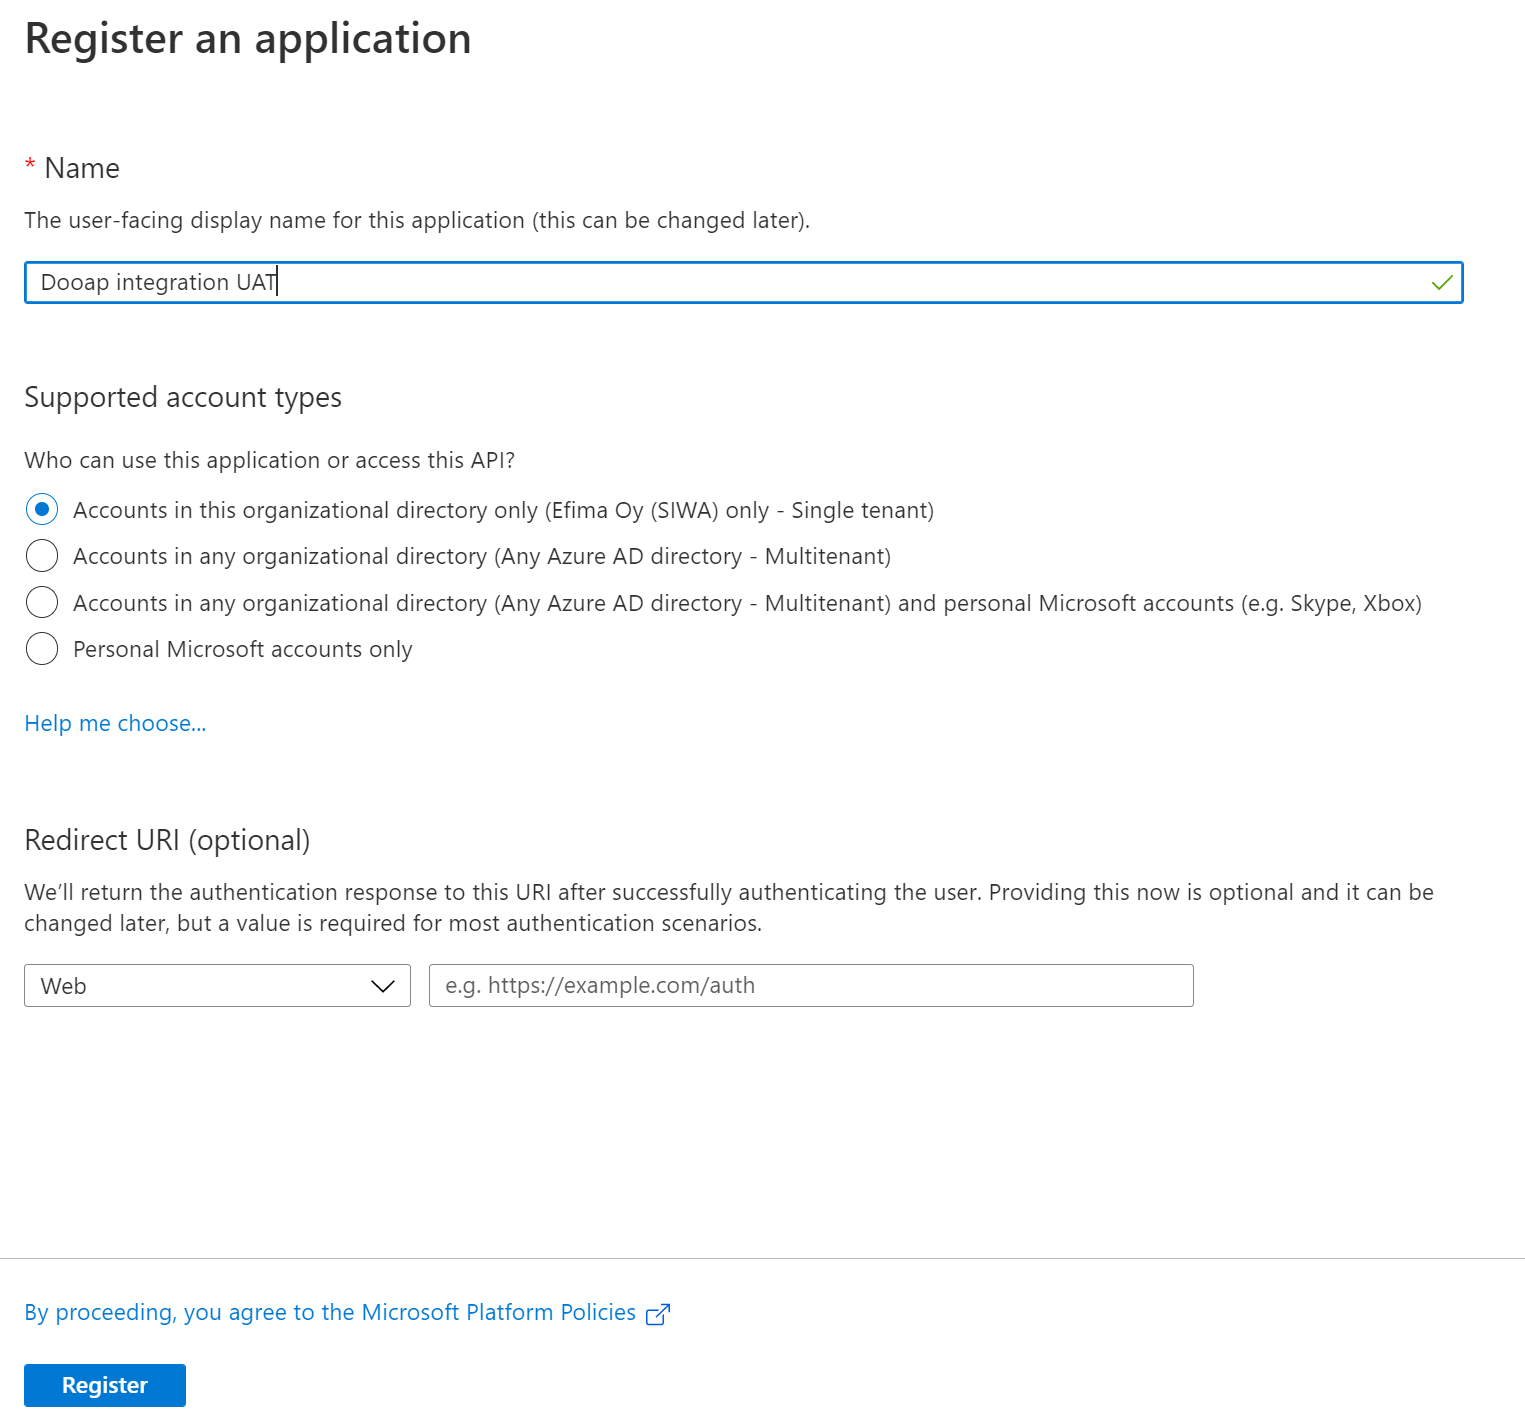
- There select Manage > App registrations.

- Create a single tenant application.
- Remember to click Register once the necessary information is given.

- Remember to click Register once the necessary information is given.
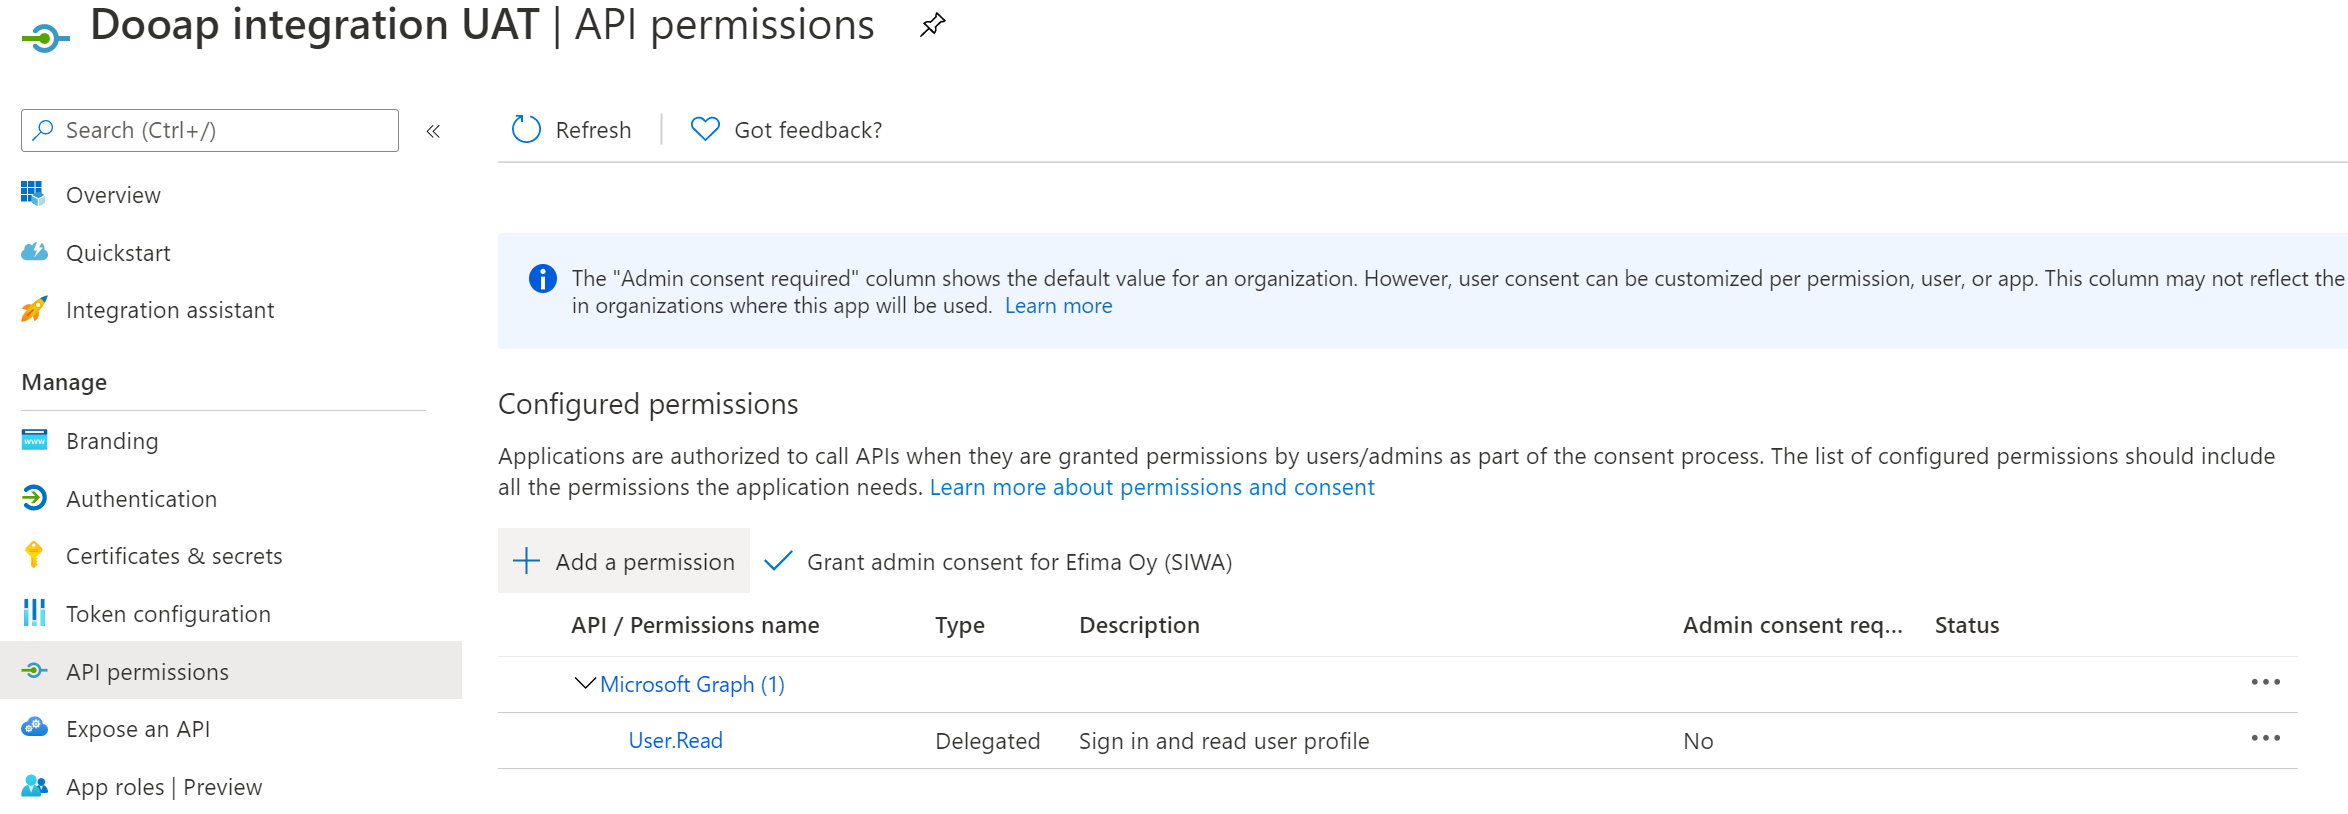
- Add API permissions by navigating to Manage > API permissions.

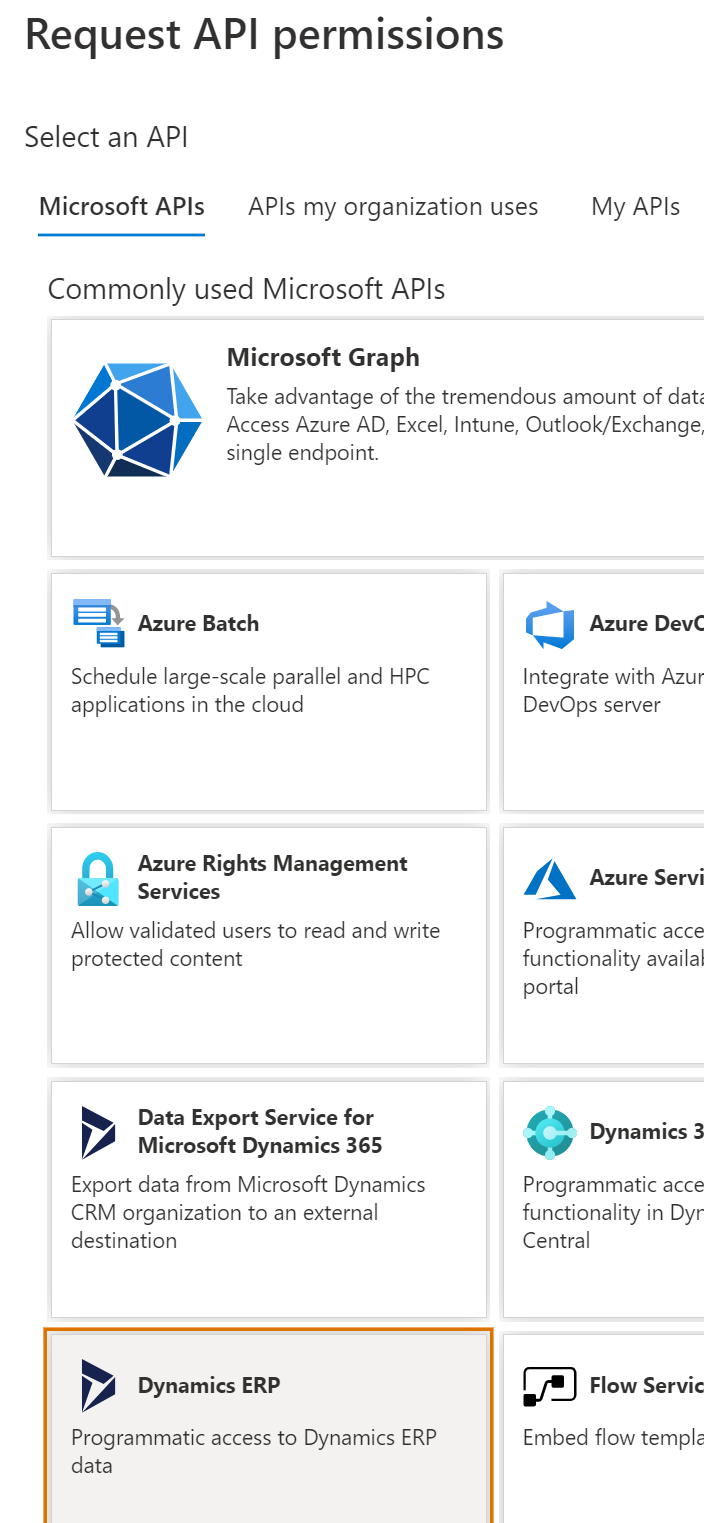
- When adding the permissions, select Dynamics ERP.

- After that, select delegated permissions:
AX.FullAccess, CustomService.FullAccess, Odata.FullAccess
and add permissions.
- When adding the permissions, select Dynamics ERP.
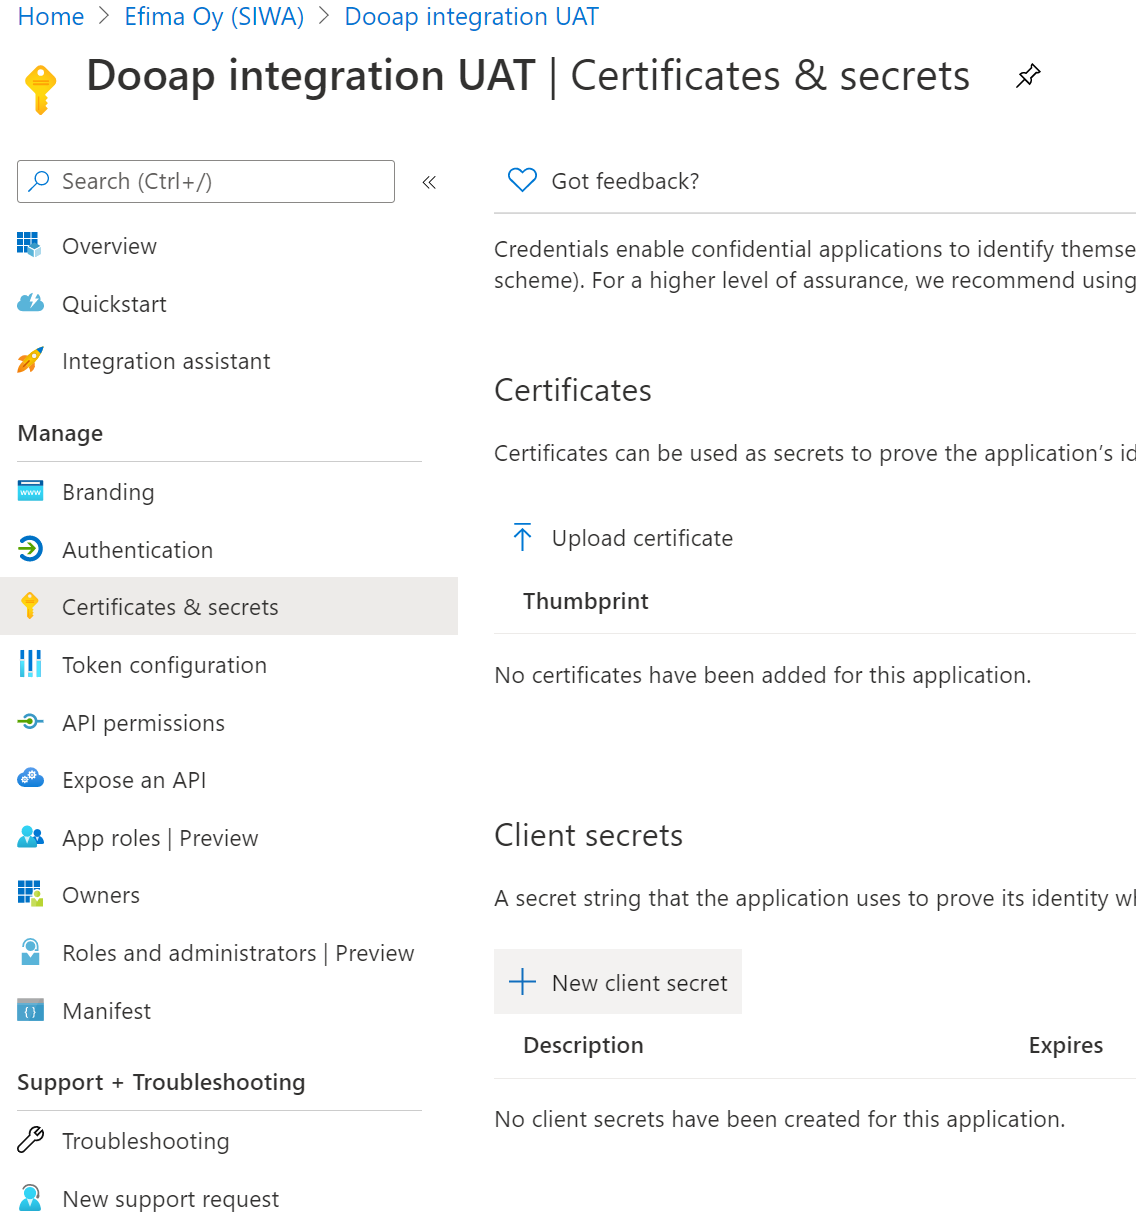
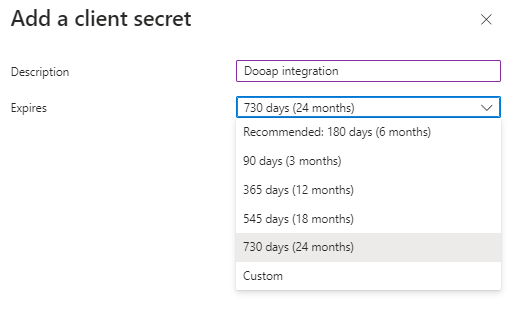
- Create a new client secret.

- We recommend setting the maximum expiration time.

- Copy the secret value (Value field) and save it securely - you cannot see it afterwards. Also save the expiration date.
- These are needed in the next phase and also should be sent to your Dooap contact person.

- These are needed in the next phase and also should be sent to your Dooap contact person.
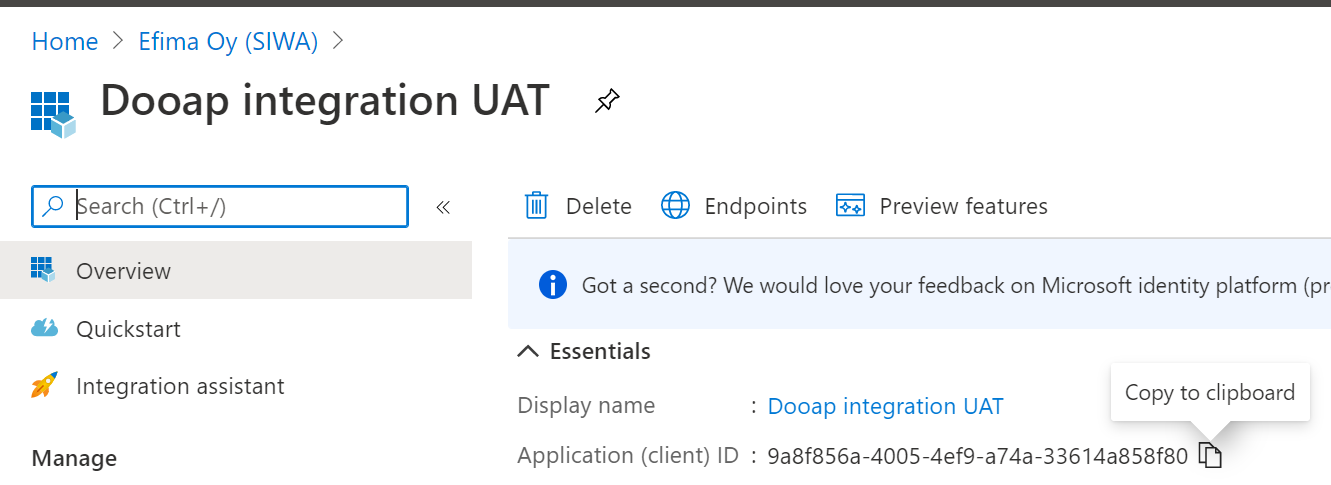
- Also, navigate to Overview tab and copy Application (client) ID.
- This is needed in the next phase also and should be sent to your Dooap contact person.

- This is needed in the next phase also and should be sent to your Dooap contact person.
- We recommend setting the maximum expiration time.
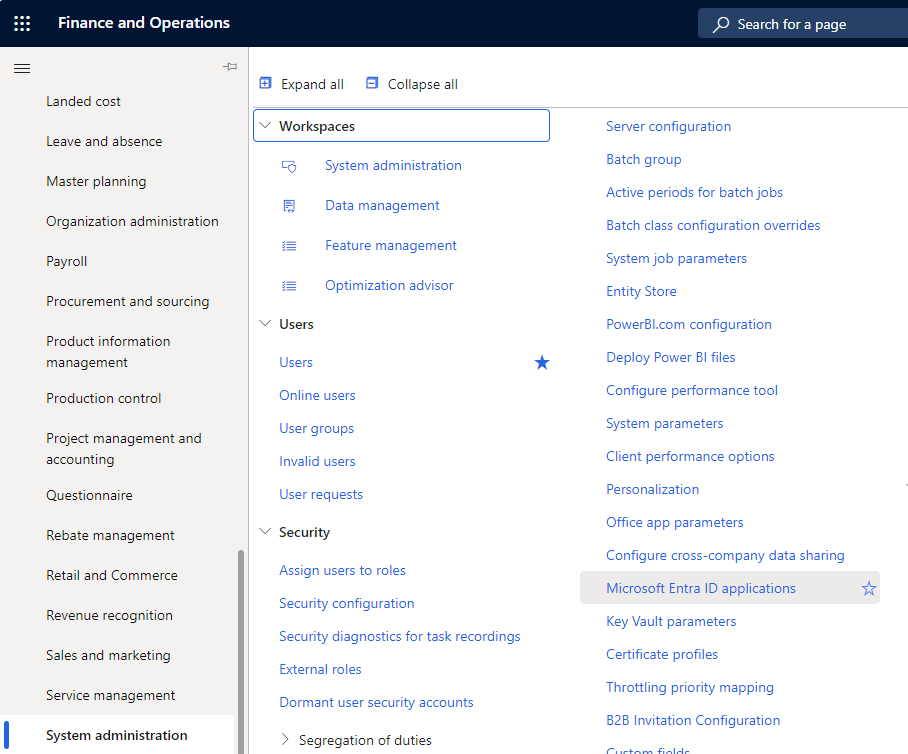
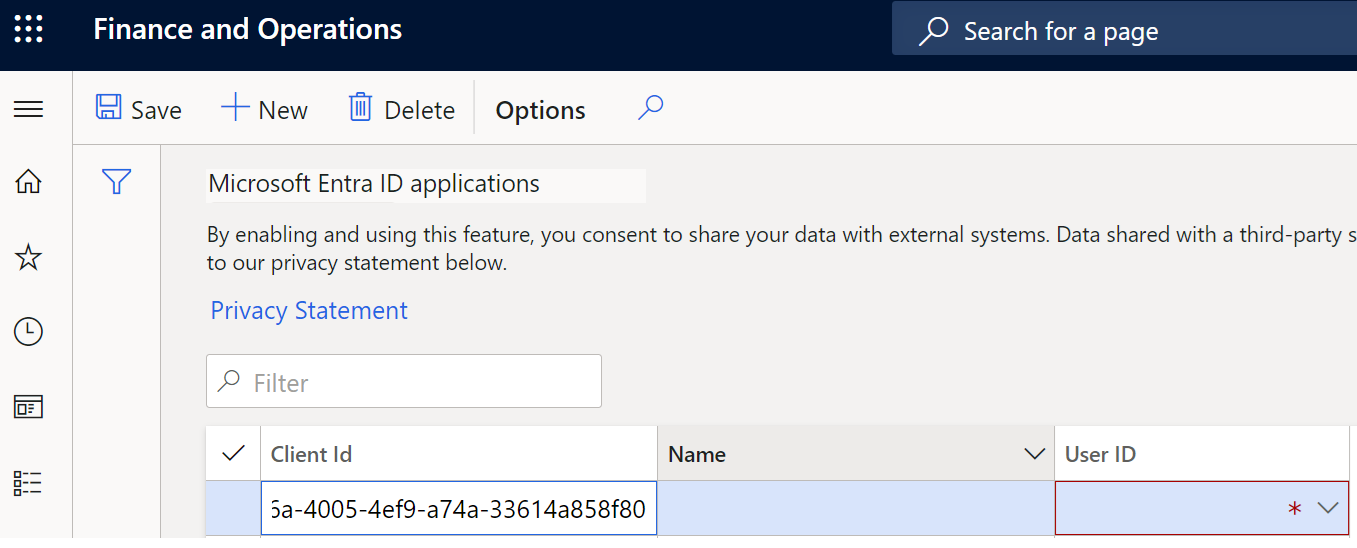
- Then navigate to D365 and link the app registration to the integration user account.
- Select System administrator > Microsoft Entra ID applications.

- Paste the Application (client) ID you copied in 5c. to Client Id field.

-
You can choose the name, e.g. Dooap Integration UAT.
-
Then assign the app to Dooap integration user ID.
- Select System administrator > Microsoft Entra ID applications.