1. Preparation and remarks
- In the target AX2012 environment, it is recommended to back up AX databases (data and model store) and export the existing model store before Dooap model installation.
- To export the model store, see https://technet.microsoft.com/fi-fi/library/jj720286.aspx.
- Direct access to the AX2012 AOS server with administrative rights is required.
- The installation may take several hours due to the application compilation step.
- Two files are needed. Dooap team will deliver these and inform the location.
- Dooap.axmodel (delivered separately)
- Click to download: Newtonsoft.Json.dll
1.1 Technical documentation
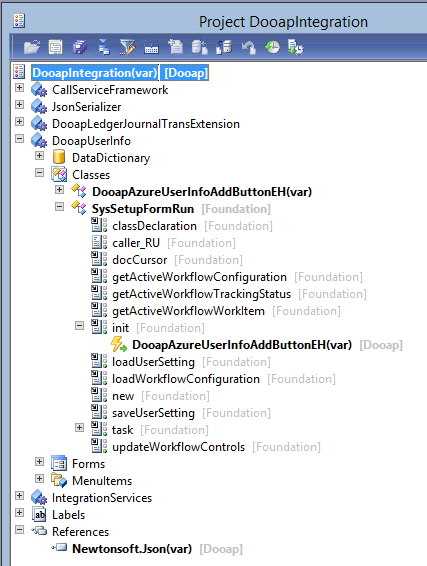
The Dooap model includes one code project named DooapIntegration.
- The model does not modify (overlayer) any standard objects but there is one post event handler added for method SysSetupFormRun.init().
- The model was designed to minimize code conflicts during installation to any AX environment.
Also, an external dll reference to Newtonsoft.Json is used. This referenced dll must be available to compile AX application with the Dooap model. See details in the picture.
1.2 Dooap model installation
1. Log in to the target AX AOS server
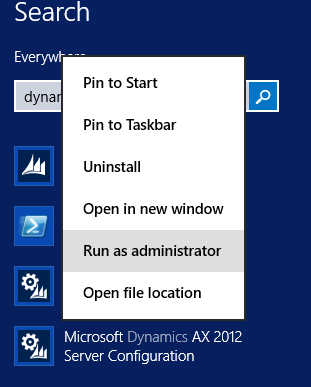
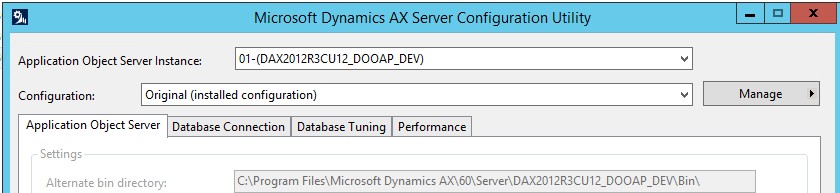
2. Start Microsoft Dynamics AX 2012 Server Configuration (run as admin)
Find the Alternate bin directory path and open the folder (normally C:\Program Files\Microsoft Dynamics AX\60\Server\target_AOS_name\bin
3. Copy Newtonsoft.Json.dll to
- i. Alternate bin directory. All Dooap integration services code is executed on server. The dll has to be in place run-time.
- ii. Dynamics AX Client\Bin directory, by default C:\Program Files (x86)\Microsoft Dynamics AX\60\Client\Bin. This dll is used during compilation of AX application and is required for all AX client instances performing compilation.
- If the client is installed to a non-default path find the location of Ax32.exe
4. If there are more than one AOS instances in the target AX2012 environment repeat steps 1-3 for all AOS's and AOS servers.
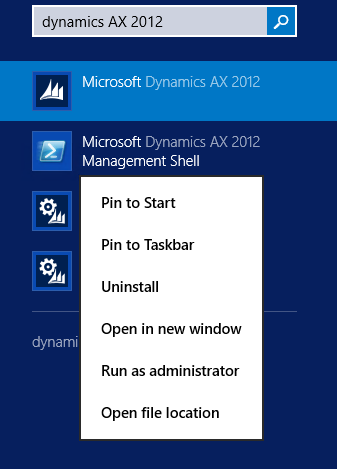
5. On one of the AOS servers, run Microsoft Dynamics AX 2012 Management Shell as administrator. Stop all other AOS's
6. Run the installation command with full path to the model file, e.g. Install-AXModel -file "C:\ModelImports\Dooap.axmodel"

- If there are more than one AOS instances installed in the target server see https://technet.microsoft.com/en-us/library/jj720288.aspx for Install-AXModel command details
7. Answer Yes to question: The model is not signed. Are you sure you want to install this model (Y/N)? Continue with this operation?
8. If this is not the first installation of the Dooap AX2012 model answer Yes to question: Are you sure you want to overwrite this or these model(s) (Y/N)? Continue with this operation?
9. After a successful installation this message is shown

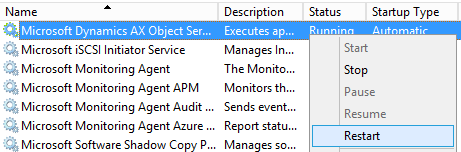
10. To restart the AOS go to Services (Run as administrator), find the corresponding AOS service and restart it.

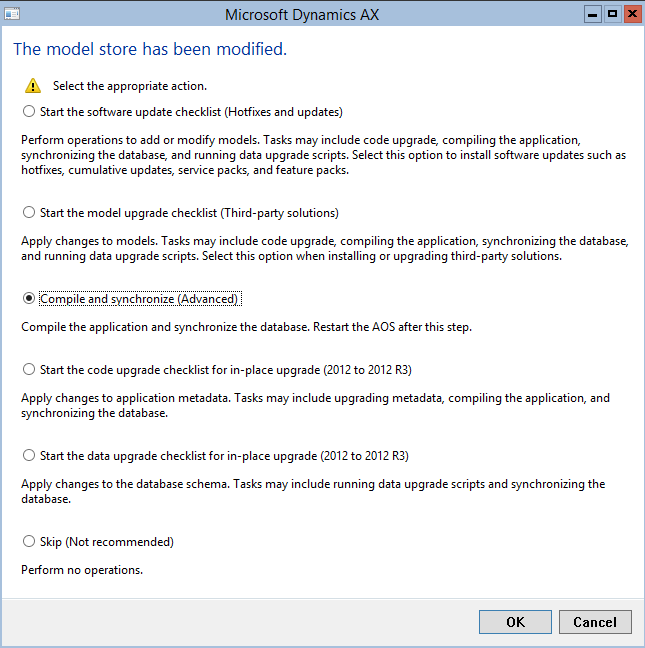
11. Start the AX client and "The model store has been modified" dialog appears. Select option: Compile and synchronize (Advanced).
NOTE: this may take several hours. An advanced user can choose Skip, compile in parallel using AxBuild.exe and synchronize the database manually - see https://msdn.microsoft.com/en-us/library/dn528954.aspx for details.
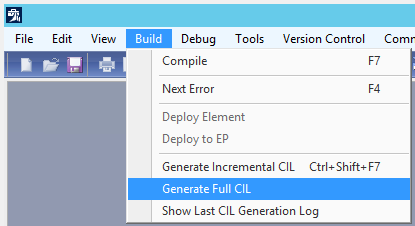
12. Open the Development workspace (Ctrl + Shift + W) and run Build -> Generate Full CIL
13. Restart AOS
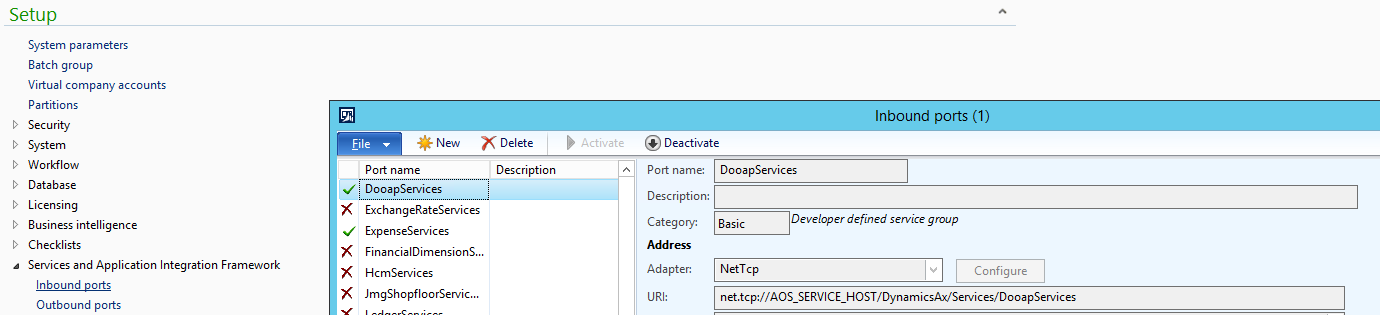
14. Open System administration -> Setup -> Services and Application Integration Framework -> Inbound ports. Check that DooapServices port exists and is active (green tick). If port is still deactivated click Activate.
15. Start the other AOS instances (if there are more than one in the target AX2012 environment